By selection
In the timeline viewer, go through these steps:
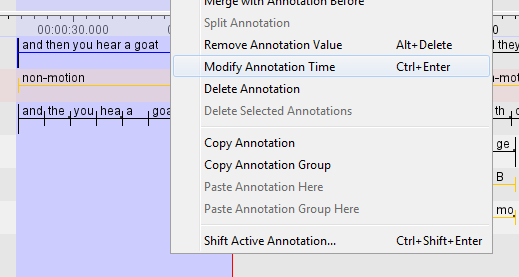
Click on an annotation unit to select it.
Select the region where you want the modified annotation to be placed.
Right click on the original annotation and select or press CTRL+ENTER
Now the length of the annotation becomes that of the selection from the second step.


By dragging the mouse
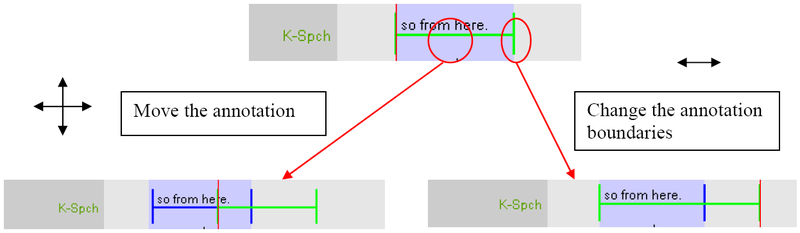
If you press ALT, the active annotation is indicated in green and becomes adjustable with the mouse:
drag in the middle of the annotation and drop it somewhere else to move it
drag and drop the borders to change the boundaries of the annotation unit
![[Note]](images/note.png) | Note |
|---|---|
|
By entering a number of milliseconds
Annotations can be shifted to the left or the right by a number of milliseconds. See Section 5.8.8.
Changing selection boundaries with the shortcut keys
Use the shortcut key CTRL+j and CTRL+u to change the left boundary of a selection to the left and to the right, respectively. To change the right boundary use the shortcut key CTRL+SHIFT+j and CTRL+SHIFT+u.